How to patch the Poduct ID to use
|
|
|
Important: This procedure is for Windows 7 64bit only !!! |
| 1 | Download my latest Windows 7 drivers here:
Windows 7 drivers Extract the contents of the Zip file to a directory you can remember. In this tutorial I used "C:\Temp\IBUS_Driver" Second: Download and install the Microsoft Visual C++ 2010 Redistributable Package (x86) |
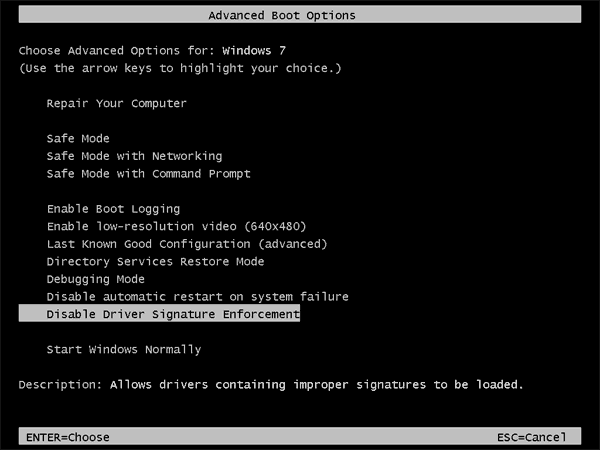
| 2 | Make sure the interface is not inserted!!! To make the downloaded drivers work in Windows 7 64bit, you have to boot Windows in "Disable Driver Signature Enforcement" Mode: While booting Windows hit the "F8" key until you see the menu below. Select "Disable Driver Signature Enforcement" and hit "Enter". |
 |
|
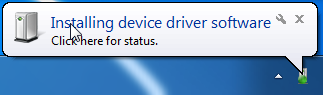
| 3 | When Windows is booted up OK, insert the interface. |
 |
|
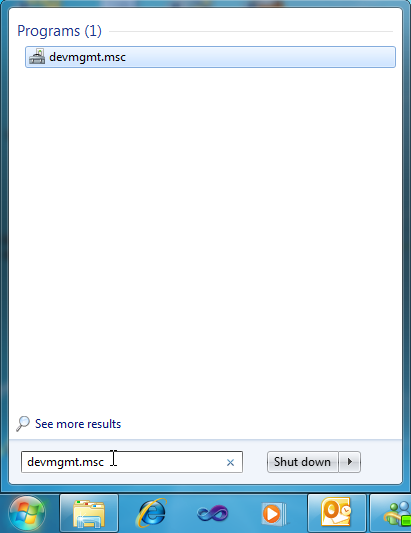
| 4 | Cancel the installation of the drivers, igore
all warnings and notifications, but keep the device
plugged in. Now start "Device Manager" by entering devmgmt.msc in the "search programs and files" field in the start menu: |
 |
|
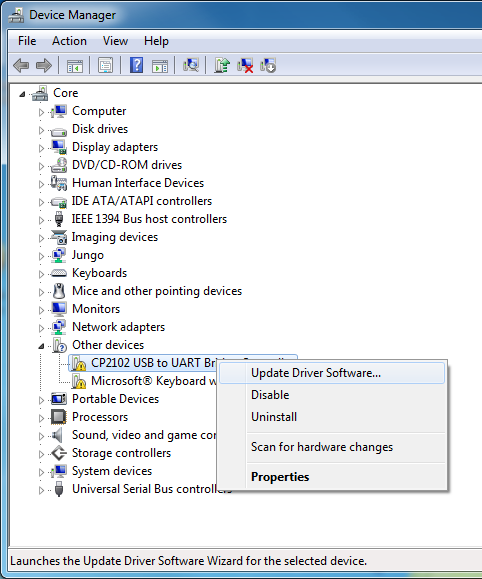
| 5 | In Device Manager you will find the
interface in the "Other devices" branch. Right-Click the device and select "Update Driver Software..." |
 |
|
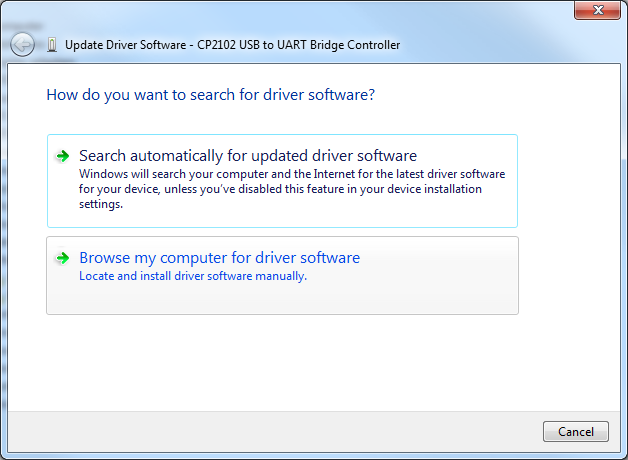
| 6 | Now select "Browse my Computer for driver software": |
 |
|
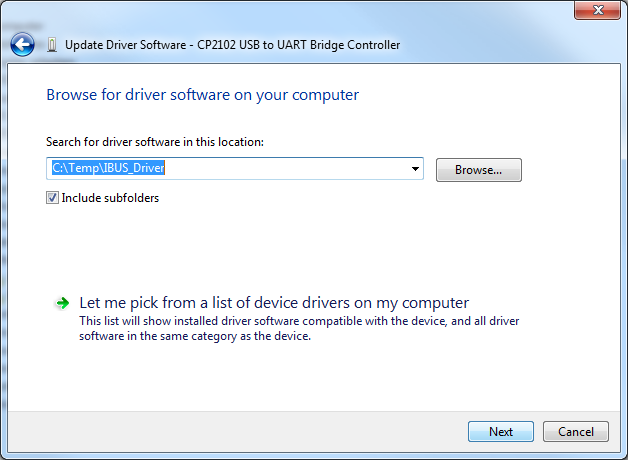
| 7 | Select the directory where you downloaded my drivers: |
 |
|
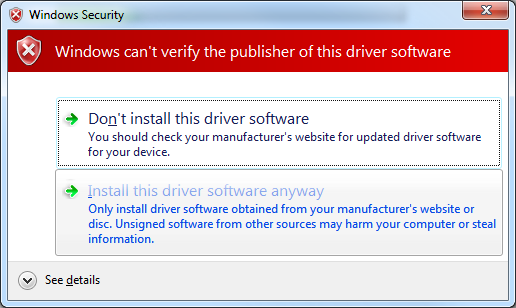
| 8 | You will see a waring that
Microsoft does not know me, because I can't pay several
thousand US$ for registration. Select "Install this driver software anyway" |
 |
|
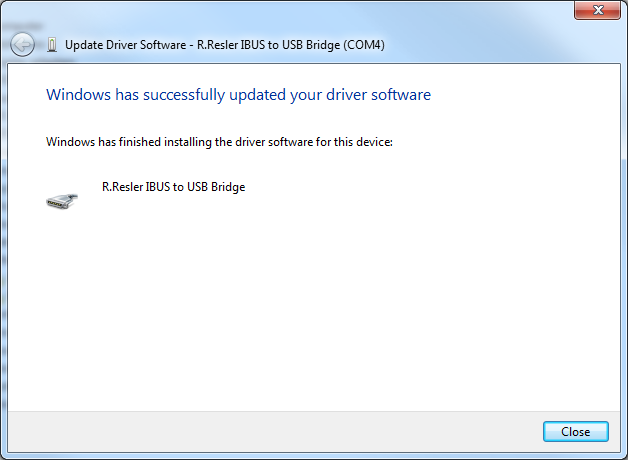
| 9 | You should see that the drivers are installed OK now: |
 |
|
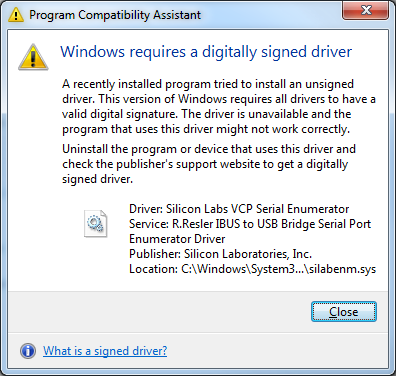
| 10 | But the paranoia continues.... You will see another warning. Click "Close" for now... |
 |
|
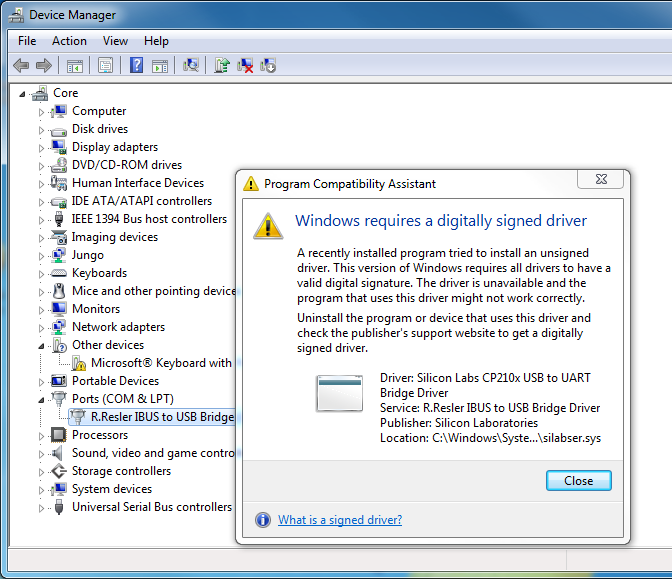
| 11 | Back in Device Manager you will see another warning that you have to "Close"... |
 |
|
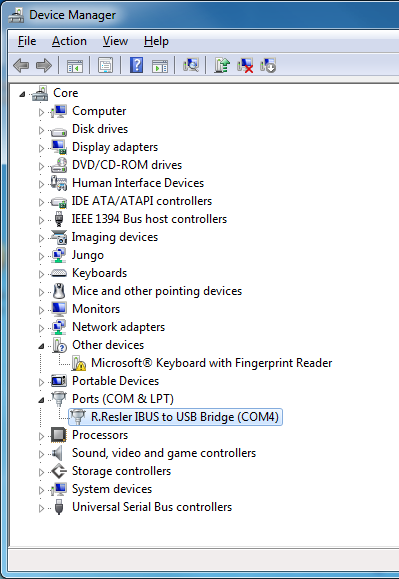
| 12 | Now everything looks quite OK, but
this state would only last as long as we are in "Disable Driver Signature Enforcement"
mode, e.g. until the next boot. We will take care of that in the next steps. |
 |
|
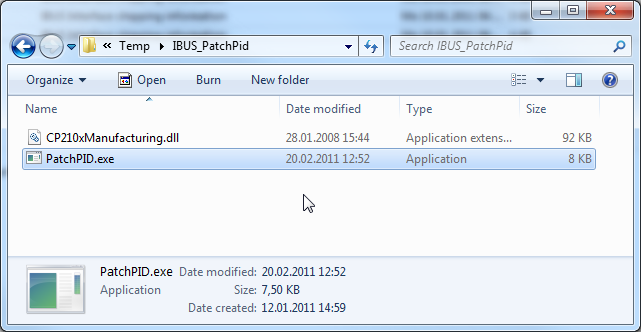
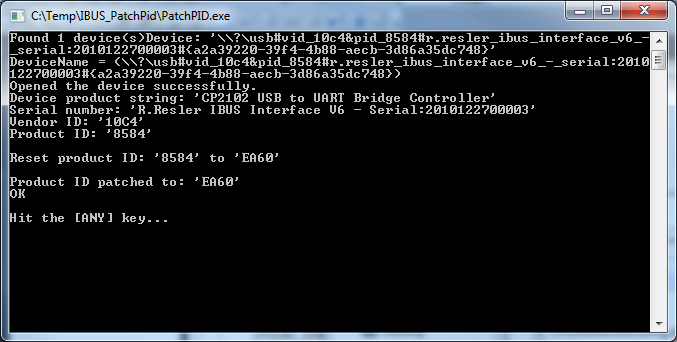
| 14 | Now it's time to patch my Product ID to the original
Silabs Product ID. Download my Patch Program here: Patch Program Extract the contents of the Zip file to a directory you can remember. In this tutorial I used "C:\Temp\IBUS_PatchPid" Start "PatchPID.exe". |
 |
|
| 15 | You should see something like this. The most important line is Product ID patched to 'EA60' When you see this, hit the "Any" key to continue. If not: note any error message and email me. |
 |
|
| 16 | Now unplug the interface, wait 10 seconds and insert it again: |
 |
|
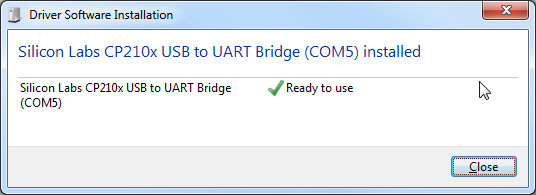
| 17 | If you are connected to the Internet, Windows Update will install the Silabs drivers automatically now. |
 |
|
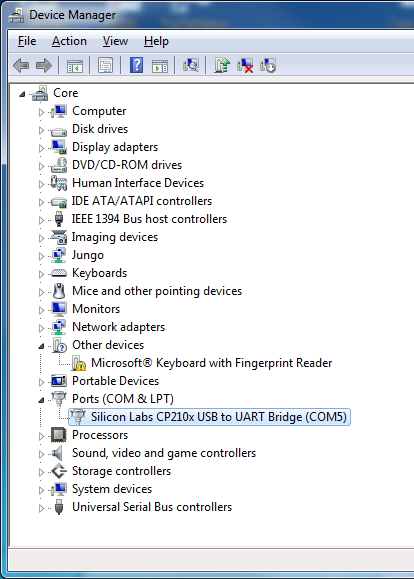
| 18 | After that, you should see my Interface as "Silicon Labs CP210x USB to UART Bridge" in the "Ports (COM&LPT)" branch. |
 |
|
| 19 | Finished ! You can remove all downloaded files and reboot your PC in normal mode now. |